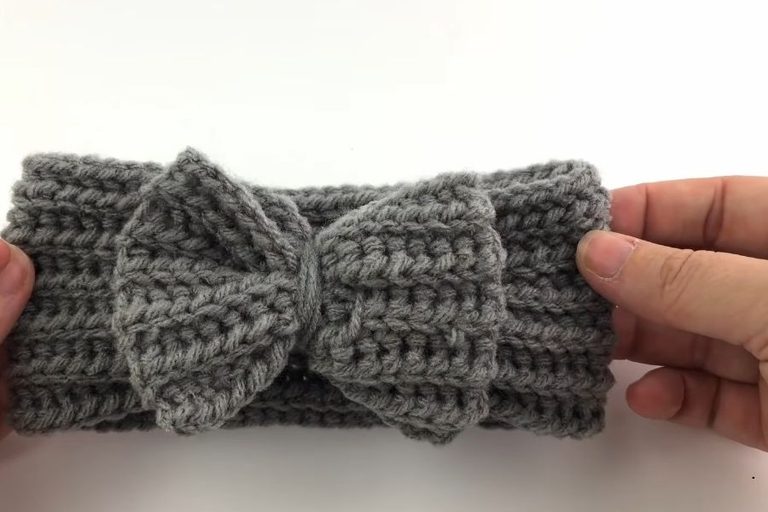
Crochet Bow Headband Pattern for Baby Girls
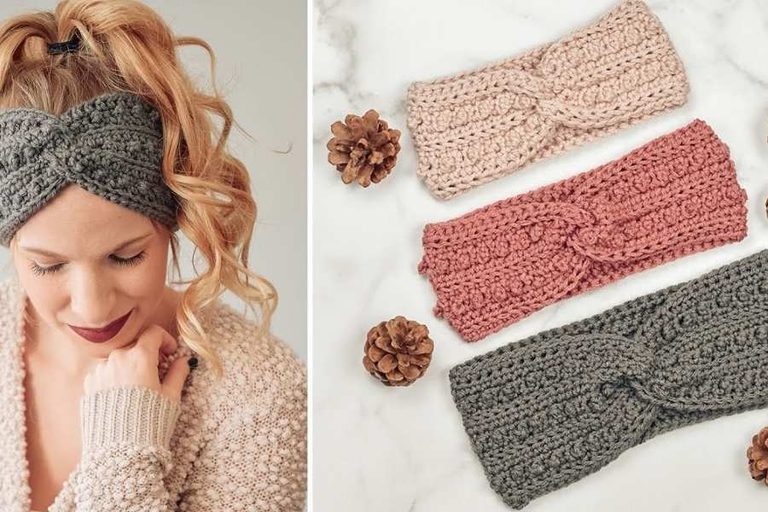
Create a wonderful, handmade crochet headband adorned with lovely flowers or delicate designs for a baby girl using simple stitches and yarn.
First Headband Design and Techniques
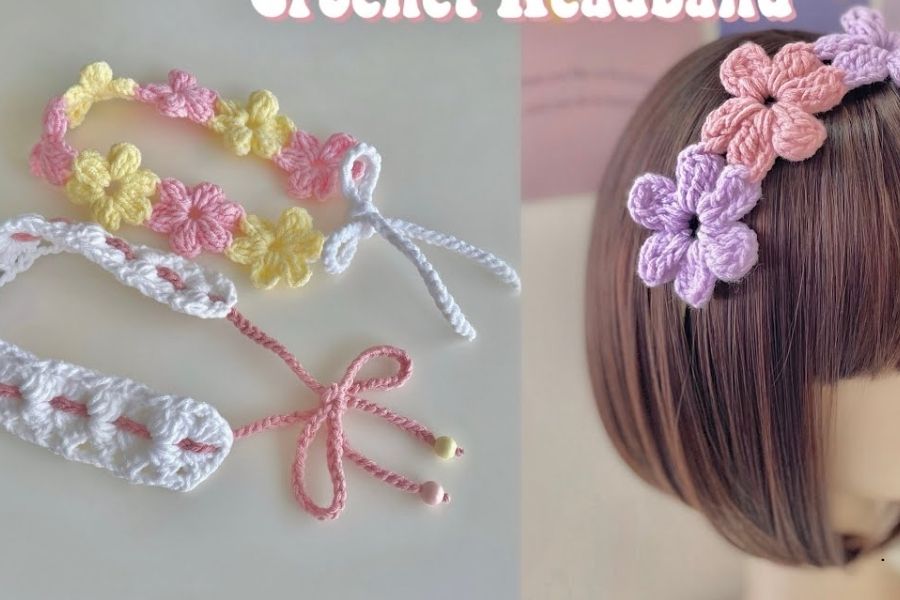
To start the first style, begin with a slip knot and chain four. Yarn over and make two double crochets in the same first chain, keeping in mind that the chain three counts as the first double crochet. Chain two, then make three more double crochets in that same chain. For the second row, chain three and place a stitch marker in the third chain to mark a spot. Turn your work over and make three double crochets in the chain space, followed by a chain two and three more double crochets in the same space, ending with one double crochet.
Repeat this basic process for a total of twenty-one rows. Once the final row is complete, cut your yarn, secure the end, and use a yarn needle to weave in the yarn tails. To create the strap, make a slip knot and chain 160 before cutting and securing the yarn. Finally, attach and weave this strap through each chain space along the center of the headband.
Second Floral Headband Design
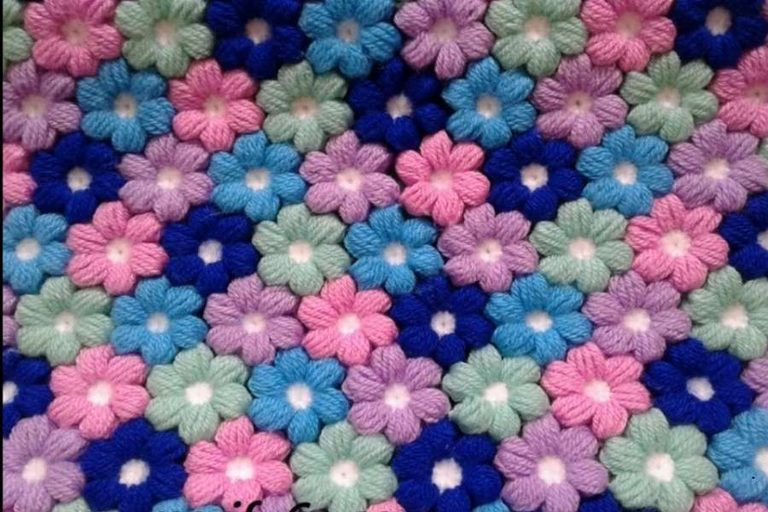
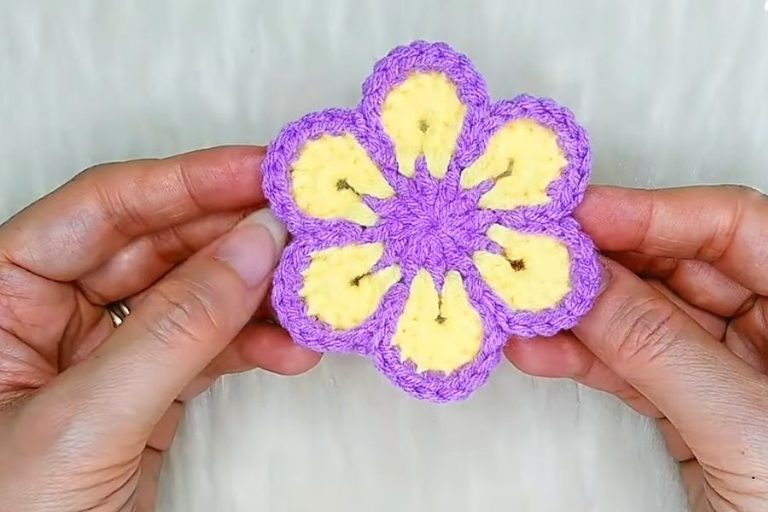
For the second lovely headband style, you will create a chain of connected crochet flowers. Start with a slip knot, chain eight, and slip stitch into the first chain to form a small ring. Chain four, yarn over twice, insert your hook into the ring, and work special stitches like treble crochet 2 together combined with chains to form gorgeous petals. Repeat this process to make six petals for your first flower, then cut and secure the yarn.
When making the remaining flowers, join them together by linking two petals of the new flower into the petals of the previous flower as you work. Continue making and joining flowers until you have a total of eight connected flowers. To finish, attach your yarn to the back of the first flower, chain 50 for the strap, secure the end, and repeat the same steps on the other side.
Always use a stitch marker in your rows to keep track of your turning points easily.
Take your time when weaving in loose yarn tails with a yarn needle so your finished headbands stay neat and secure.