Easy Crochet Jacket Pattern for Cozy Handmade Style
Discover a wonderful way to add a handmade touch to your wardrobe with this charming, sleeveless crochet jacket. Perfect for layering, this simple pattern creates a lightweight vest that looks complex but is easy to master.
The Versatility of a Lightweight Crochet Vest
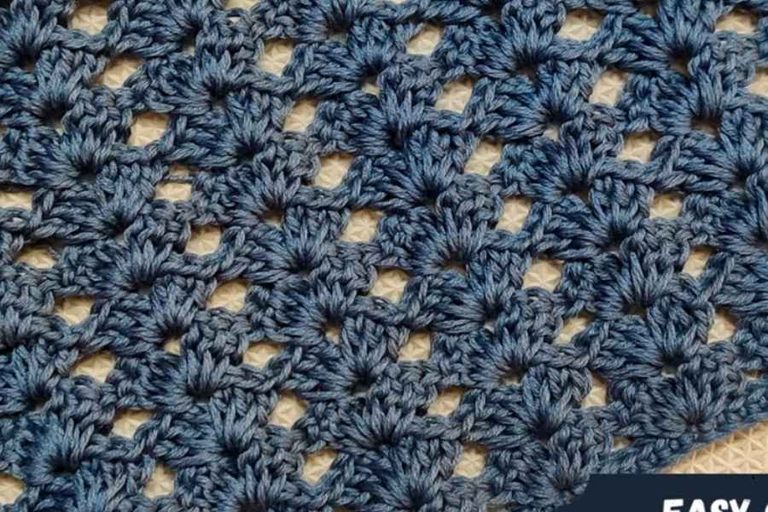
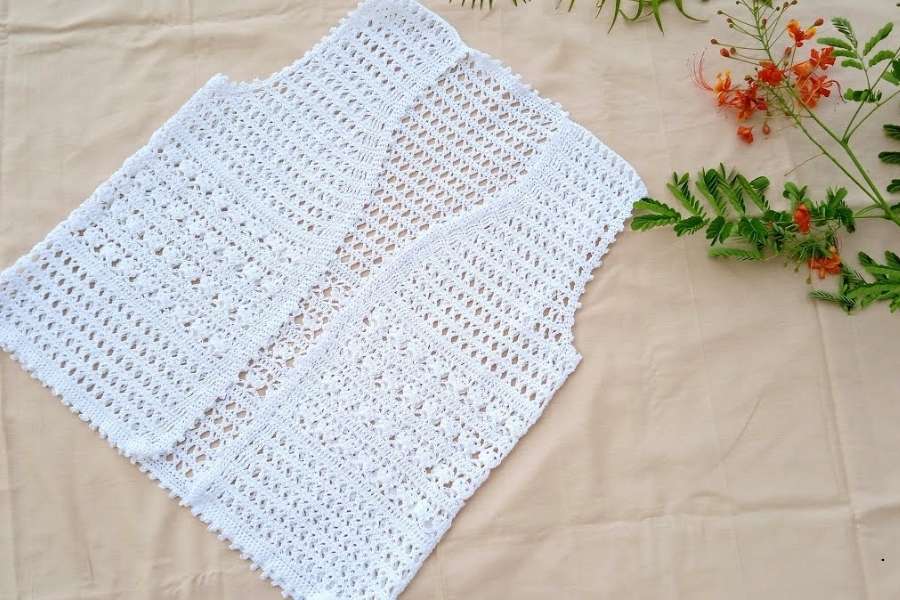
This crochet pattern creates a beautiful, sleeveless vest (or ‘waistcoat’) that is the epitome of relaxed, handmade style. Its construction focuses on achieving an open, lacy texture, making it the perfect year-round accessory. You can see how the intricate, repetitive motifs form a stunning, breathable fabric. This design feature allows it to be an ideal outer layer, adding instant character to a simple outfit like jeans and a white t-shirt, without adding unnecessary bulk or heat.
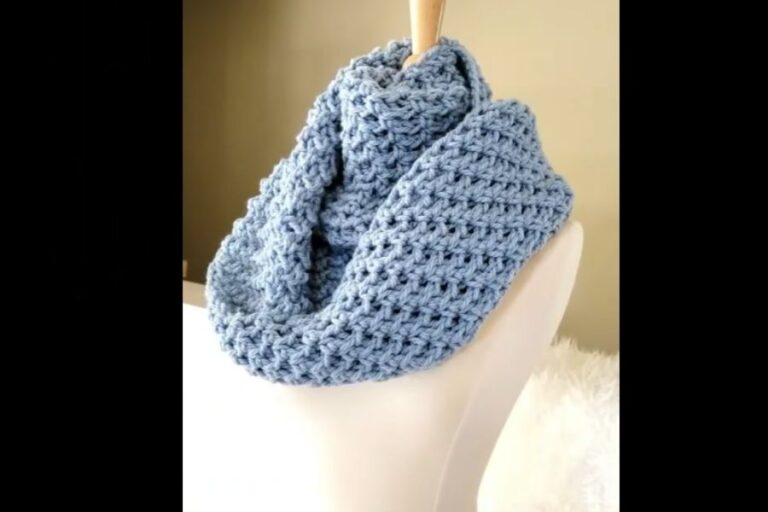
The overall shape is classic and uncluttered, with a clean V-neck and a buttonless front closure (or ‘open-front’ style), letting the beautiful lace take center stage. Its light, airy nature makes it extremely versatile. In the warmer months, it can be a chic top-layer for a summer dress. When the weather turns colder, it fits comfortably under a heavier coat as an extra cozy insulating layer. It’s a truly useful garment that can transition seamlessly between seasons.
Simplicity in Design and Construction
While the finished vest looks detailed, the pattern is surprisingly simple and suitable for confident beginners or intermediate crocheters. The beauty of the design is in its repeating motifs, which form a consistent ‘all-over’ lacy pattern. Once you establish the initial rows and understand how the simple cluster stitches or chains interact, the fabric works up quickly, and the pattern becomes rhythmic. This makes it a great project for when you want a beautiful, wearable outcome without needing to memorize a complex chart or count endlessly.
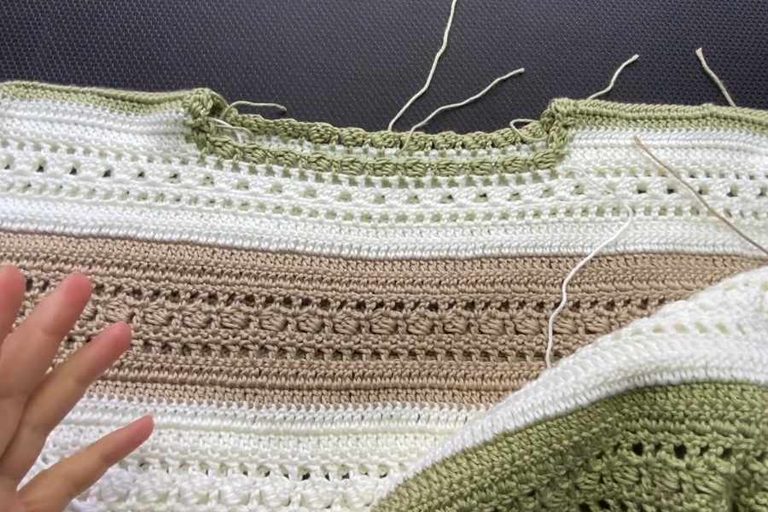
The vest is constructed from basic panels – a back panel and two front panels – which are later joined together at the shoulders and sides. This modular approach is much less intimidating than working a single large piece and makes it easier to manage your gauge and make adjustments for fit. Finally, a delicate, repetitive scalloped border is applied around all the raw edges (front, neckline, and armholes), giving the entire piece a finished, polished, and distinctly feminine look.
Essential Advice for a Perfect Finish
To get the best possible result, here are some tips and simple techniques to remember while you work on this cozy crochet jacket.
- Choose the Right Yarn: The lacy texture relies on excellent stitch definition. Opt for a smooth, matte cotton yarn, a cotton blend, or a soft acrylic yarn in a light weight (DK or Sport weight are ideal). Avoid very fuzzy or heavily textured yarns, which will obscure the beautiful openwork and scalloped edges. A classic white or cream, like the one shown, is a safe bet and will highlight the pattern beautifully.
- Gauge Matters: Before starting your full panels, make a swatch. If you can’t make it to gauge, try a different hook size. This is crucial for ensuring the vest fits you perfectly.
- Master the Post Stitches: Many lacy patterns achieve depth and texture using simple variations like ‘front-post’ or ‘back-post’ stitches. If the pattern uses these, practice them on your swatch. They are simple to learn and are often the key to achieving the defined clusters you see.
- Count Your Motifs: Especially when working the front panels, count the number of full ‘fan’ or ‘diamond’ motifs to ensure your front panels are identical to each other.
- Block Your Finished Panels: Before sewing everything together, block each panel. This helps to ‘relax’ the stitches, even out the fabric, and makes the beautiful lace pattern open up and lie flat. This single step will make a noticeable difference in the professional look of your final garment.
- Finish with Care: Weave in your loose ends as you go, and when sewing the panels together, use a matching yarn and a precise, clean stitch (like the mattress stitch) for almost invisible seams. The final border is the jewel of this project, so take your time and count your stitches there, too.