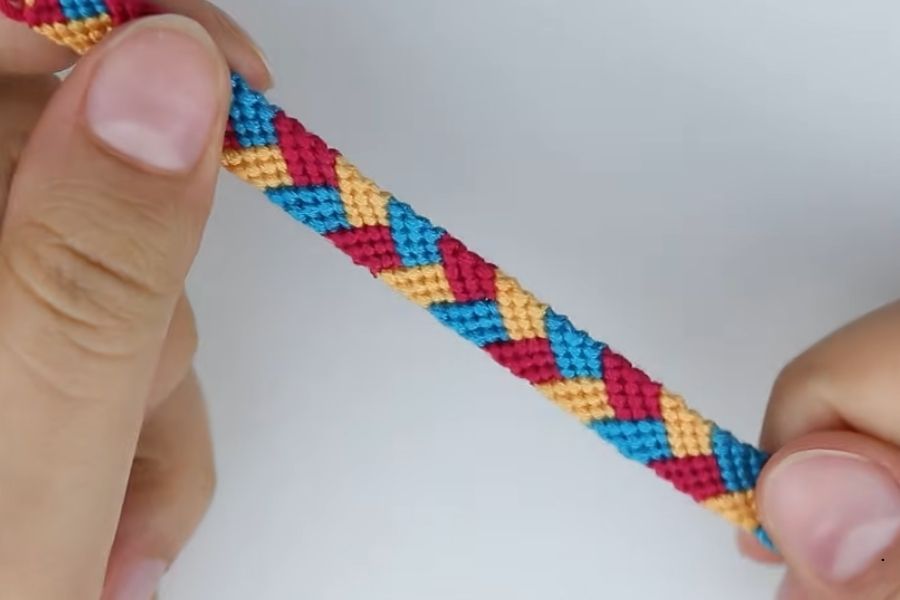
How to Crochet a Stunning Braided Stitch Bracelet (Free Pattern)
Discover how to handcraft a vibrant, textured braided stitch bracelet using simple string colors and basic knotting techniques.
Materials Needed
To create this project, you will need a total of nine strings split evenly across three distinct colors: red, yellow, and blue. Cut three strands of each color, ensuring every string measures about one meter long. You will also need standard tape to secure your strings down safely while working.
Yam colors can easily pop through adjacent knots during the crafting process. If you spot a stray color peeking out, simply give the affected string a gentle tug to conceal it completely.
Step-by-Step Techniques
Begin by preparing about fifteen centimeters at the top for your ties, then tape down the remaining length. Arrange your strings in the specific sequence of red, yellow, red, yellow, red, yellow, blue, blue, and blue.
Work your way across the pattern by bringing the outermost strings into the center. Use forward knots when working from the left side and backward knots when working from the right side. Continue systematically bringing each color group toward the middle row by row until your bracelet reaches the desired length.
Always practice making a standard chevron bracelet first to build confidence with basic forward and backward knots before diving into this specific tutorial.
Take your time arranging the initial string sequence very carefully because any early mistakes can throw off the entire braided pattern structure.