Simple Crochet Bow Headband Pattern Free Tutorial
Learn how to create a gorgeous, cozy, and beginner-friendly textured hair accessory using basic stitches and super soft chunky yarn.
Materials Needed
To get started on this fun project, you will need a few simple supplies. Gather a 5 mm crochet hook, a pair of sharp scissors, and a yarn needle for weaving in ends. For the yarn, an acrylic chunky yarn works wonderfully because it is soft, flexible, and comes in vibrant colors like bright pink. You can choose any brand or color you like as long as it matches your preferred hook size.
Starting the Headband Foundation
Begin your project with a slip knot and create your foundation chain. For a child, chain about 70 stitches, while an adult size usually requires around 80 to 85 chains. Always test the chain around your head before moving forward; it should feel snug without being uncomfortably tight.
Working with chunky yarn allows your stitches to build up quickly. Keep your tension even as you chain to ensure a smooth base for your first row.
Crocheting the Main Body
Once you reach your desired length, start the first row by working a single crochet in the second chain from the hook. Continue making one single crochet in every stitch across the row.
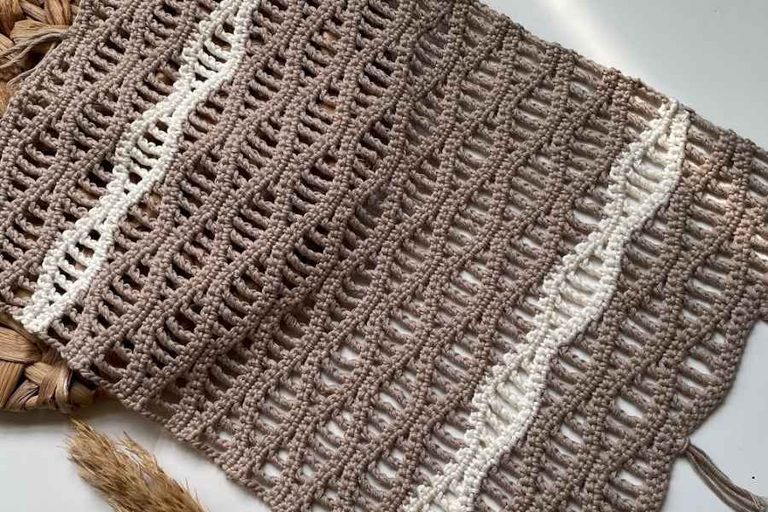
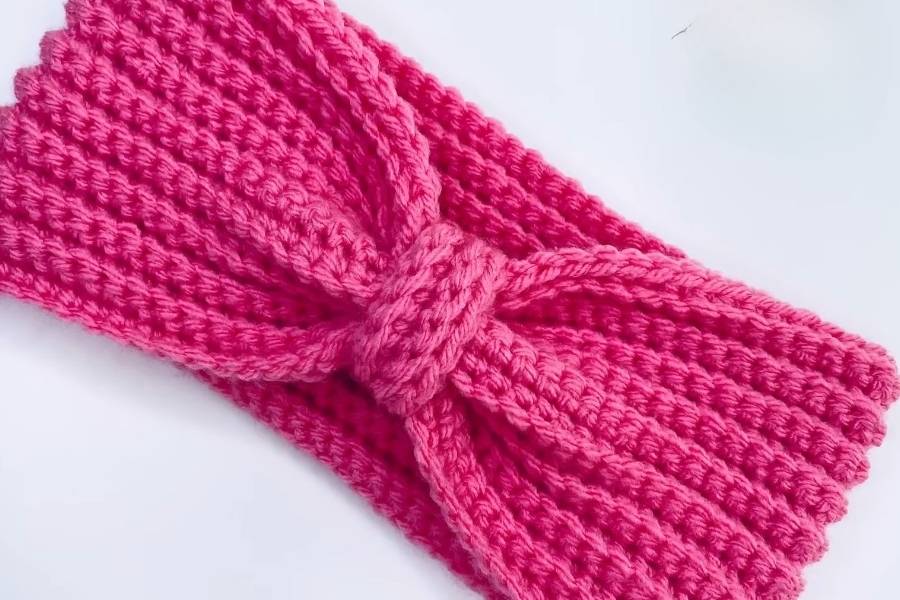
For the second row and all subsequent rows, chain one and turn your work. Instead of working through both loops, insert your hook into the back loop only for every stitch. This special technique creates a lovely ribbed texture and a neat, straight edge. Repeat this single row pattern for a total of 19 rows, or adjust the row count if you prefer a wider or narrower band.
Assembling and Shaping the Bow
Finish off your main piece by leaving a long yarn tail for sewing. Fold the headband in half and use your yarn needle to stitch the short ends together securely.
To form the distinct bow center, fold the top and bottom edges of the sewn seam toward the middle to create a neat pinch. Sew through all the layers to hold this shape firmly in place.
Crafting the Center Band
To give your accessory a polished look, crochet a small center wrap band. Make a slip knot and chain 15 stitches. Test this short chain around the pinched center of your headband to ensure a snug fit.
Work four rows of single crochet in the back loop only, just like you did for the main band. Finish off with a long tail, wrap the small piece tightly around the center pinch of your headband, and sew the short ends together securely from the inside. Weave in all remaining yarn ends carefully, trim the excess, and your stylish hair accessory is complete.
Helpful Tips and Advice
Always check your sizing by trying the foundation chain directly on your head before starting the rows. Taking a few extra seconds to measure ensures your finished piece will feel comfortable all day long.
When working in the back loops only, make sure not to skip the very last stitch of each row. Keeping your edge stitches straight prevents the headband from skewing or warping as it grows.
Take your time when weaving in your yarn ends using a yarn needle. Securing your tails with hidden knots and hiding them inside the stitches guarantees your handmade creation will stay durable through regular wear.