Cute Crochet Bow Pattern for Handmade Accessories
Adding a sweet handmade touch to your everyday wardrobe is easy with crochet accessories. Learning to make quick mini bows allows you to customize hair clips, clothing, and crafts with bright pops of handmade charm in just a few minutes.
Discover the Charming Crochet Bow
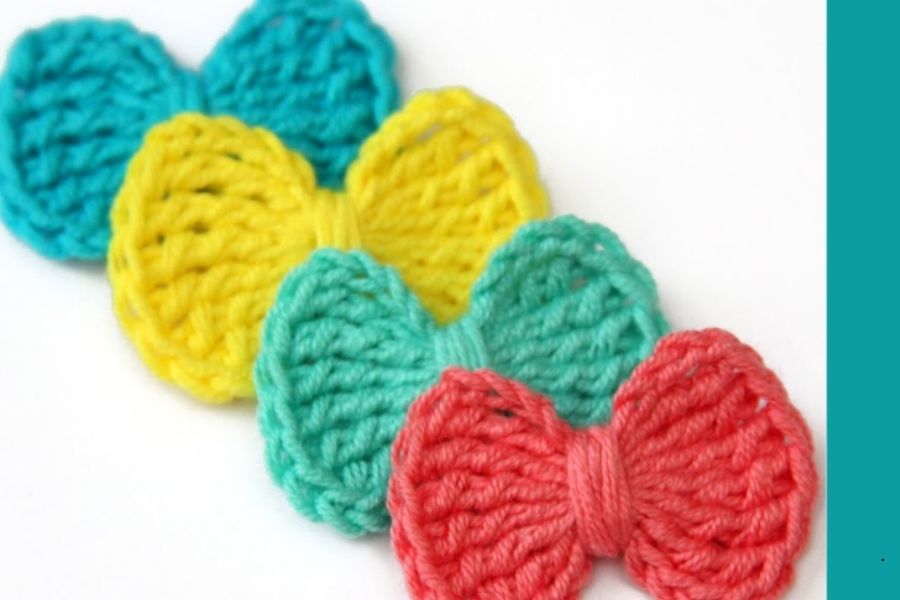
These adorable crochet bows feature a classic rounded shape created from basic stitches worked together in a compact design. Each bow consists of two wide, curved side loops that taper toward the middle, bound tightly at the center with a neat yarn wrap. Rendered in bright cheerful shades like teal, bright yellow, mint green, and coral pink, they showcase clean stitch definition with a lightweight, flat profile.
Because of their versatile shape and small size, these cute bows make wonderful decorative appliques. You can easily attach a bow to a hair clip, bobby pin, or elastic band for a custom hair accessory. They also look fantastic stitched onto baby beanies, sweaters, tote bags, or shoe tops, and can even be added to gift wrapping as a reusable embellishment.
Essential Tools and Materials Needed
Crafting these quick bows requires minimal yarn, making them one of the easiest stash-busting projects you can try. To get started, gather a few basic items:
- Yarn: Smooth cotton or acrylic worsted-weight yarn in vibrant colors brings out the defined stitches and keeps the loops firm.
- Crochet Hook: A medium hook (such as 3.5mm to 4.5mm) ensures your stitches remain tight enough to hold their bow shape without sagging.
- Yarn Needle: Essential for wrapping the center neatly and weaving in loose tails.
- Scissors: Needed for clipping your yarn after securing the center wrap.
The design relies on simple, everyday stitches like chains, single crochet, and half-double or double crochet stitches to create the fan-like curve of the loops before cinch-wrapping the middle.
Why Mini Bows Are Great for Crafting
Small projects like crochet bows offer fast, satisfying fun for crafters of all skill levels. Because a single bow takes only a small amount of yarn and very little time to complete, you can whip up an entire rainbow set in a single evening. It is a fantastic way for beginners to practice tension control and basic stitch height variations without committing to a massive project.
Helpful Tips and Advice for Success
- Wrap the Center Firmly: When cinching the middle of your bow, pull the yarn tail tightly as you wrap it around the center several times. This creates that classic pinched hourglass shape and keeps the loops defined.
- Keep Your Tension Steady: Work with even yarn tension so both side loops match in size and thickness.
- Secure the Center Tail: Use your yarn needle to pull the final wrapping tail underneath the center wraps on the back side. Knot it securely so your bow never unravels during wear.
- Attach Attachments Early: If you plan to glue or sew your bow onto a hair clip or brooch pin, leave a long yarn tail at the end of your work to sew it on directly for a stronger hold.