Easy Granny Square Crochet Pattern for Beginners
Looking for a fun and rewarding crochet project to start your journey? The classic granny square is the ultimate foundation for beginners. It lets you create gorgeous textured pieces while practicing basic stitches with total ease.
Understanding the Textured Granny Square
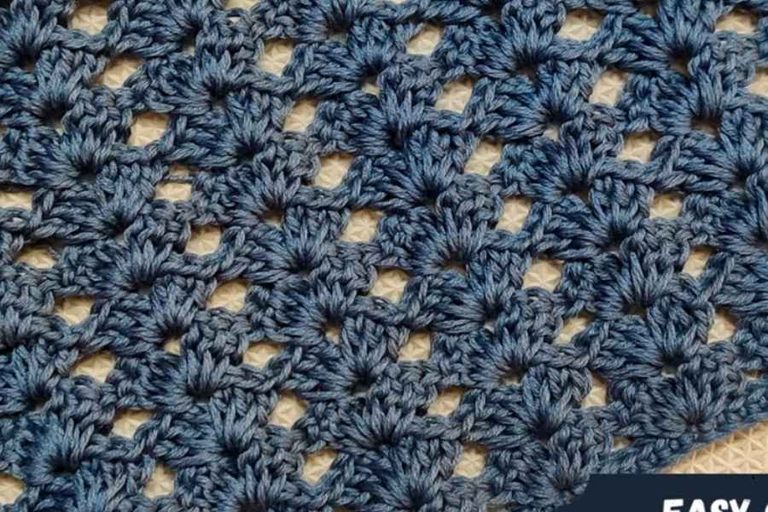
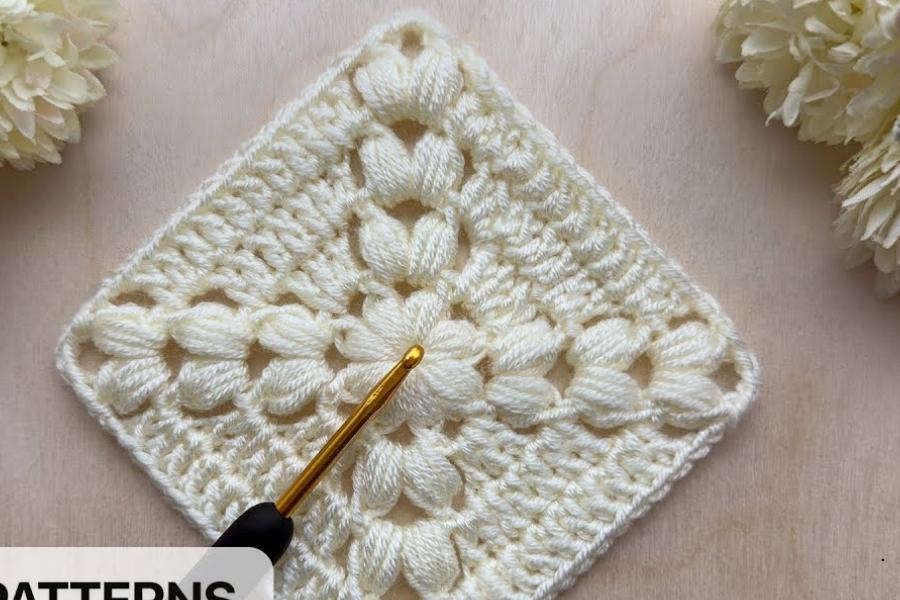
This elegant style puts a fresh twist on traditional crochet squares. Instead of flat, open mesh, it features plush puff stitches radiating from the center to form a blooming, star-like flower motif. Thick textured lines shoot out to the four corners, surrounded by smooth double-crochet stitches that fill out the square. Worked in a clean cream color, this motif creates a rich, classic look with deep dimension. You can join several of these together to build cozy blankets, stylish tote bags, cozy throw pillows, or warm winter cardigans.
Simple Materials You Will Need
Getting started is easy, as you only need a few basic tools:
- Yarn: Medium-weight yarn (worsted weight) in cream or off-white works best for highlighting the detailed puff stitches.
- Crochet Hook: A standard 4.0mm to 5.0mm hook pairs nicely with medium yarn to keep stitches crisp.
- Yarn Needle: Essential for weaving in loose yarn ends when your square is finished.
- Scissors: For cutting your yarn cleanly after closing off your rounds.
The design relies on basic stitches like chains, single crochet, and double crochet, along with puff stitches (pulling up multiple loops in one space) to build the raised texture.
What Makes This Pattern Beginner-Friendly
Granny squares are built in rounds, starting from a tiny center circle and expanding outward layer by layer. This makes it easy to keep track of your work without losing count of long rows. Because each round repeats the same set of stitches around the square, you will quickly memorize the sequence. Making individual squares also means you can carry your project anywhere and work on it in short bursts!
Helpful Tips and Advice for Success
- Keep Your Pull-Ups Consistent: When making puff stitches, pull your yarn loops up to the exact same height each time. This keeps all your textured puffs uniform and full.
- Watch Your Tension: Avoid pulling your yarn too tightly. Relaxed, even tension ensures your square lays completely flat rather than curling up at the edges.
- Block Your Finished Squares: Once you complete a square, pin it flat to a foam board and spray it lightly with water. Letting it dry pinned into a perfect square makes joining multiple pieces together far easier!
- Count Your Corner Stitches: Always double-check your corner spaces. The corners are what keep your piece square instead of turning into a circle, so make sure to place the correct number of chains and stitches in every corner.