Easy Crochet Cat Pattern for a Cute Handmade Project
Creating handmade items brings a special kind of joy. If you’re looking for a quick and rewarding crochet project, this tiny cat is perfect. With simple stitches and clear directions, you can make a charming little friend in no time.
A Perfect Miniature Companion
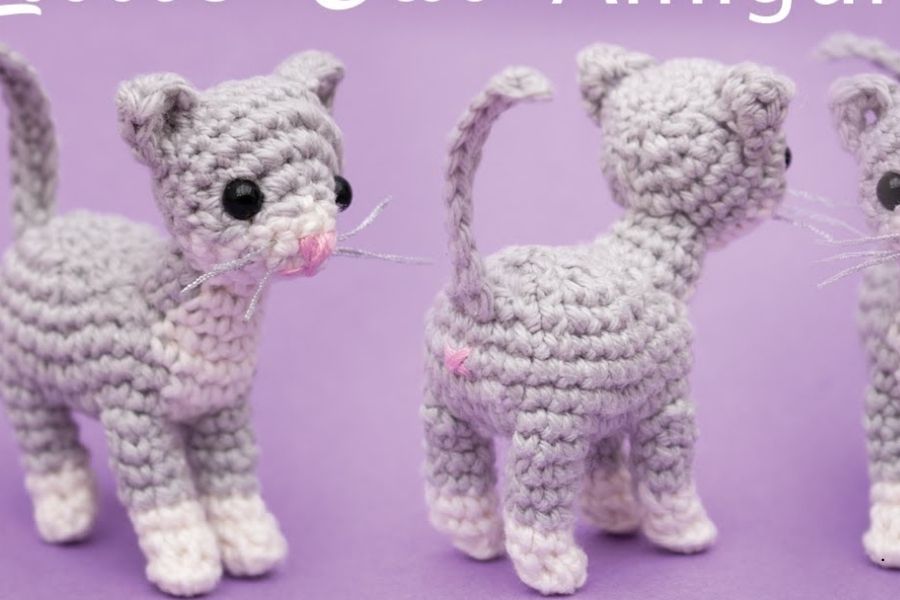
This tiny crochet cat is designed to be small enough to hold in your palm. It features a sweet, classic appearance with contrasting white paws and muzzle. The grey color makes it a classic kitten, complete with pointy ears, a long slender tail, and sparkling black safety eyes. This project is ideal for amigurumi enthusiasts and anyone who wants to create a fast, cute accessory. You could turn it into a keychain, a bag charm, or a simple decorative ornament. The result is a lovable little feline ready for all kinds of adventures.
Simple Materials and Techniques
Because of its tiny size, you only need a small amount of yarn for this project. Light worsted weight yarn in grey and white works well, along with a small crochet hook, like a 3.5mm (E/4) or even a bit smaller to keep the stitches tight. Other essential materials include:
- Small black safety eyes (around 6mm or 8mm)
- Poly-fil or similar fiber stuffing
- A yarn needle for sewing pieces together
- Embroidery thread for a nose or whiskers
The primary stitch used is the single crochet, which makes this pattern very accessible. The techniques involved are standard for amigurumi: crocheting in rounds, making a magic ring (or starting chain), increasing, and decreasing. The most complex part is carefully sewing the small components (like the tail and ears) onto the main body and head, but this is a skill you will quickly master.
Tips for a Purr-fect Result
- Tight Stitches Are Key: In amigurumi, you want your stitches to be firm so that the stuffing doesn’t peek through. If your stitches are naturally loose, try using a hook that is one size smaller than the yarn recommends. This will make your final cat more sturdy and durable.
- Stuff Strategically: Add stuffing as you go, especially in the main body. For the smaller limbs and tail, make sure to push the stuffing all the way to the tips. Using the end of your crochet hook or a chopstick can help with this. You want it firm but not overstuffed, which might distort the shape.
- Placement is Everything: Before sewing the limbs, ears, and tail, use sewing pins to test their position. Move them around until you are happy with the cat’s look. Small shifts in placement can give your cat different personalities, so take your time and find the perfect spot!
- Securing Safety Eyes: Always install the safety eyes securely before you close the head. Push the post through the fabric and then firmly snap the washer onto the back. For added peace of mind, especially if the toy is for a small child, you can gently melt the end of the post with a lighter (outside, with caution!) to ensure it cannot slide off the washer.
- Start Simple: If you are new to crochet or amigurumi, don’t be discouraged! This is a great pattern to start with. Read through all the instructions first, and don’t be afraid to pull out stitches and try again. Each mistake is a learning opportunity that makes the final handmade project even more special.