Easy Crochet Christmas Tree Pattern for Beginners
Adding a handmade touch to your holiday decor does not have to be hard or take weeks to finish. This cute little amigurumi Christmas tree doll brings festive cheer right into your hands and makes a wonderful project for anyone new to crocheting toys.
What Makes This Project Special
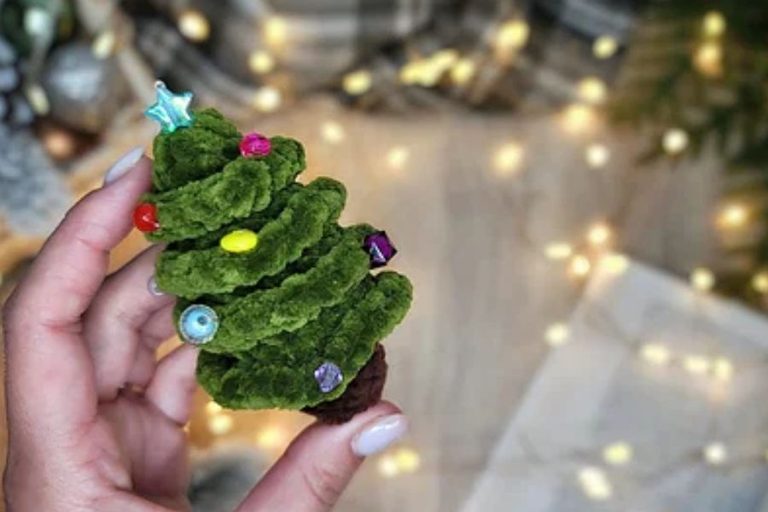
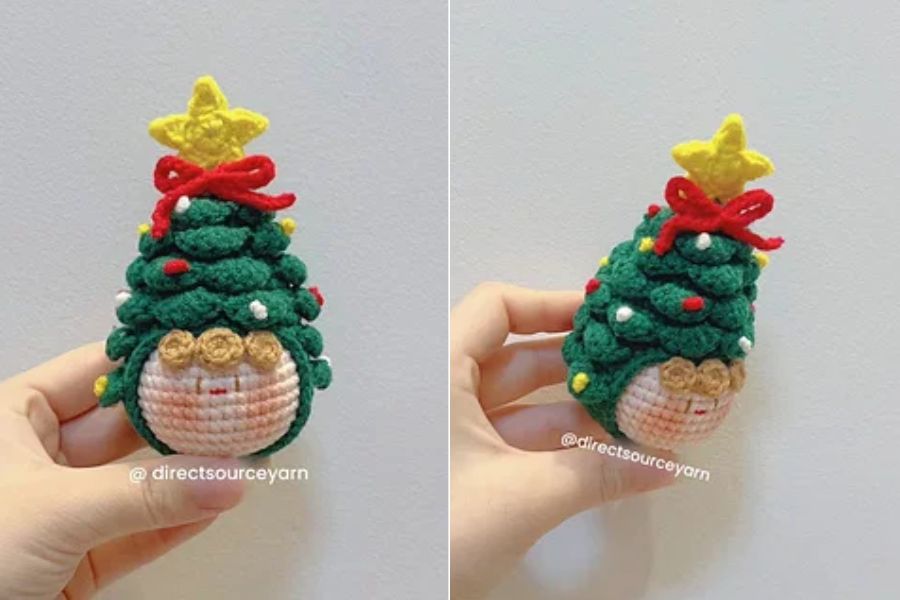
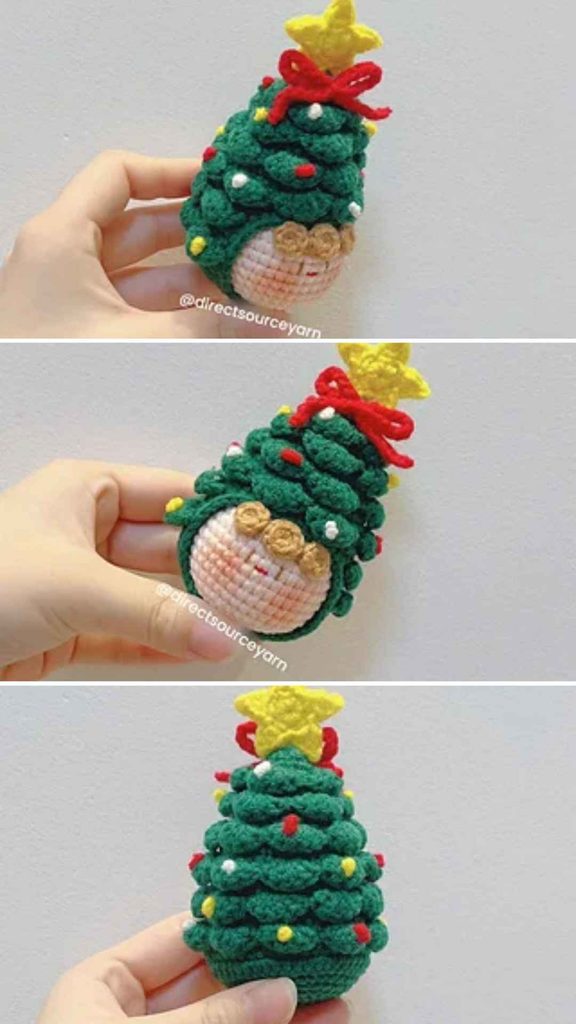
This tiny creation blends a classic pine tree shape with an adorable, sleepy character face peeking out from the bottom. Layered green scallops form the leafy branches all the way around, giving the piece a rich, puffy texture that looks just like real pine boughs.
Tiny specks of red, yellow, and white yarn act as colorful ornaments dotted across the green layers. At the very top sits a bright yellow five-pointed star paired with a sweet red bow tied neatly beneath it.
A trio of light brown curls rests right above the rosy-cheeked face, turning a simple holiday tree into a charming keepsake. Because it fits comfortably in the palm of your hand, you can finish it in just a single afternoon.
Yarn and Tools You Will Need
Getting the right size and tight fabric is easy when you match your supplies carefully. For this project, you will want to reach for a Sport weight yarn, which is often labeled as 12 wpi.
Since the entire piece is quite small, you only need about 20 to 30 yards, or 18 to 27 meters, of yarn in total. This makes it a fantastic stash-busting project where you can use leftover scraps of green, cream, yellow, red, and light brown from your yarn basket.
Pairing this thinner yarn with a 2.5 mm crochet hook creates dense, neat stitches that keep the stuffing completely hidden inside. If you want to check your tension before starting, aim for a gauge of 23 stitches and 38 rows over a 10 cm square.
Helpful Tips for Beginners
Working with a smaller hook and Sport weight yarn can feel a bit snug at first, so remember to keep your hands relaxed. Holding your yarn too tightly will make it difficult to push your hook through the stitches and might tire out your fingers.
When making the layered green scallops, pay close attention to how you place your stitches into the front loops. Leaving the back loops open is the secret trick that lets you build those tiered, overlapping branches smoothly without having to sew dozens of tiny pieces together later.
Stuffing plays a big role in helping your finished doll hold its round shape. Add small tufts of fiberfill bit by bit as you work your way up, using the back end of your crochet hook or a wooden stick to push the stuffing firmly into the bottom curve before closing the top.
To get those sweet rosy cheeks on the character face, you can gently dab a tiny bit of regular powder blush onto the yarn using a soft makeup brush or a cotton swab. Always test the color on a scrap piece of cream yarn first so you do not accidentally apply too much.
Creative Ways to Use Your Finished Tree
Once your little holiday friend is complete, there are plenty of fun ways to show it off around your home. You can attach a simple loop of yarn or a metal keyring to the top of the yellow star to turn it into a festive bag charm or tree ornament.
It also sits upright on its own, making it a cheerful desk buddy to keep next to your computer during the winter months.
If you are looking for thoughtful handmade gifts, tucking one of these tiny trees into a stocking or tying it onto a wrapped present adds a personal touch that friends and family will treasure for years.