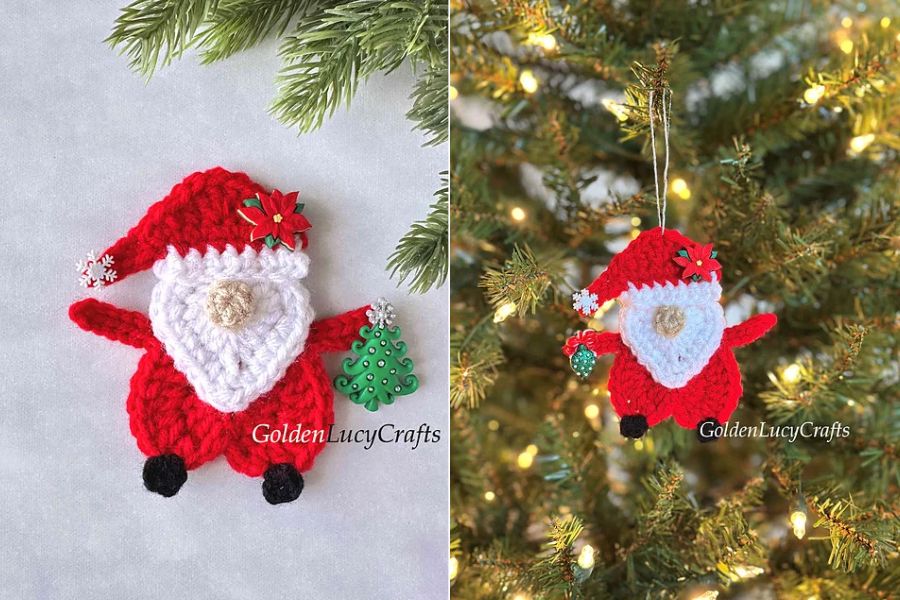
Adorable Crochet Santa Gnome Ornament Pattern
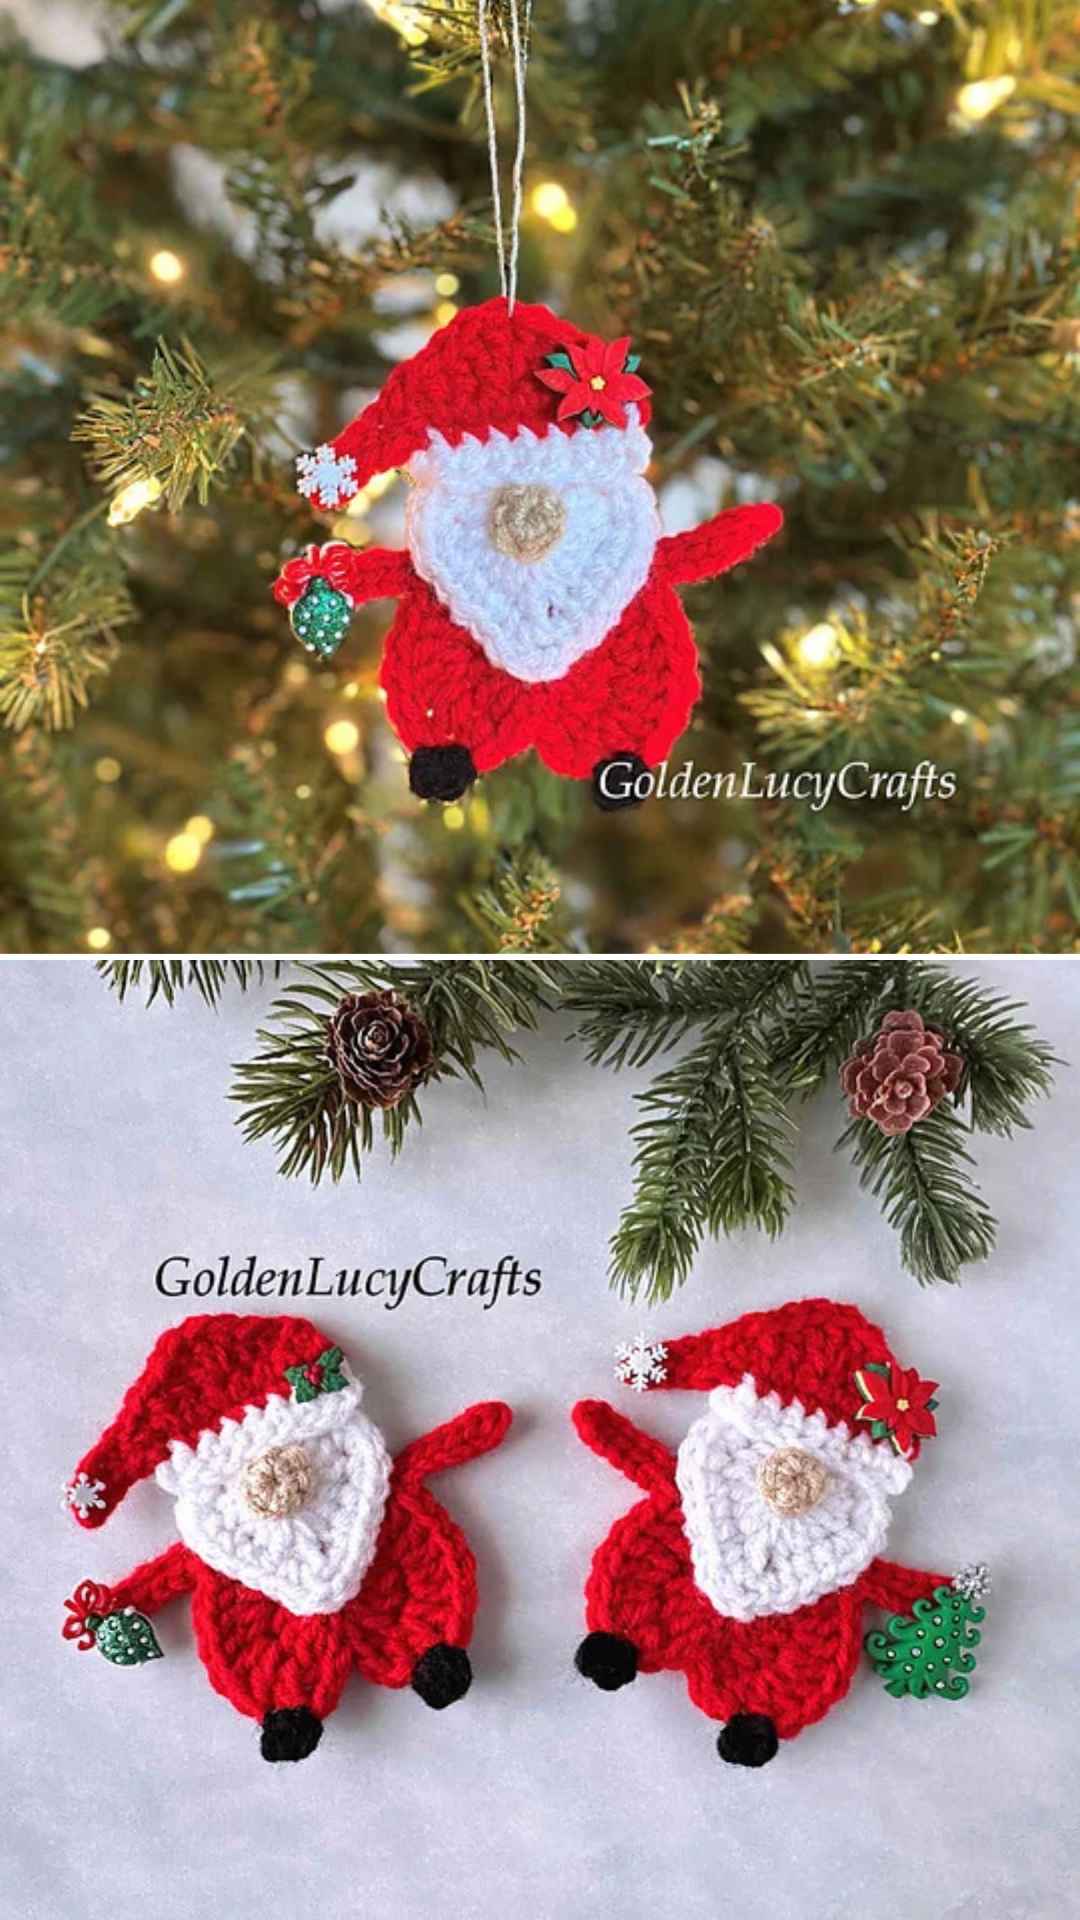
Bring extra holiday cheer to your home with an adorable handmade gnome ornament that sparkles with festive charm. This delightful project turns simple yarn into a cheerful holiday character that looks wonderful hanging on any Christmas tree.
Materials and Tools Required
To make this cute holiday project, you will need medium weight number four yarn in red, white, beige, and black colors. Pair your yarn with a 4.5 mm crochet hook, a yarn needle, a sewing needle, and matching sewing threads.
You can also gather fun craft buttons like snowflakes or Christmas trees along with an optional hot glue gun for extra decoration. The finished ornament will measure about four and one-quarter inches tall without counting its hanging loop.
Understanding the Intermediate Pattern
This intermediate pattern is designed so that you create the body, beard, hat, and nose as separate pieces. You will use standard abbreviations like single crochet, half double crochet, double crochet, and slip stitch to work through the rounds.
The technique relies on making tidy little components that come together easily during the final assembly stage. Following the specific stitch counts for each row ensures your pieces fit together with absolute precision.
Step-by-Step Assembly and Finishing
Start by crocheting the hat flat with white and red yarn, incorporating a cute folded brim detail. Next, create the white beard and the red body with integrated arms using a magic ring foundation.
Add the tiny black feet directly onto the body stitches and work a small beige circle for the nose. Use your sewing needle to carefully attach all the pieces together and embellish them with decorative buttons.
Helpful Tips and General Advice
Working with medium weight yarn and a 4.5 mm hook helps create sturdy pieces that hold their shape very well. Taking your time to block the finished Santa parts can make assembly much smoother and cleaner.
When adding buttons, remember to snip off any plastic shanks if you prefer using a hot glue gun to attach them securely. Finally, remember to attach a secure loop at the very top so your new decoration is ready for hanging.