Granny Square Crochet Strawberry Pattern for Cute Cottagecore Bags
Stepping into a dreamy, pastoral world is effortless when you stitch together elements of rustic charm and sweet, juicy berries. Crafting a whimsical granny square featuring a plump little fruit brings instant cottagecore magic straight to your favorite handmade accessories.
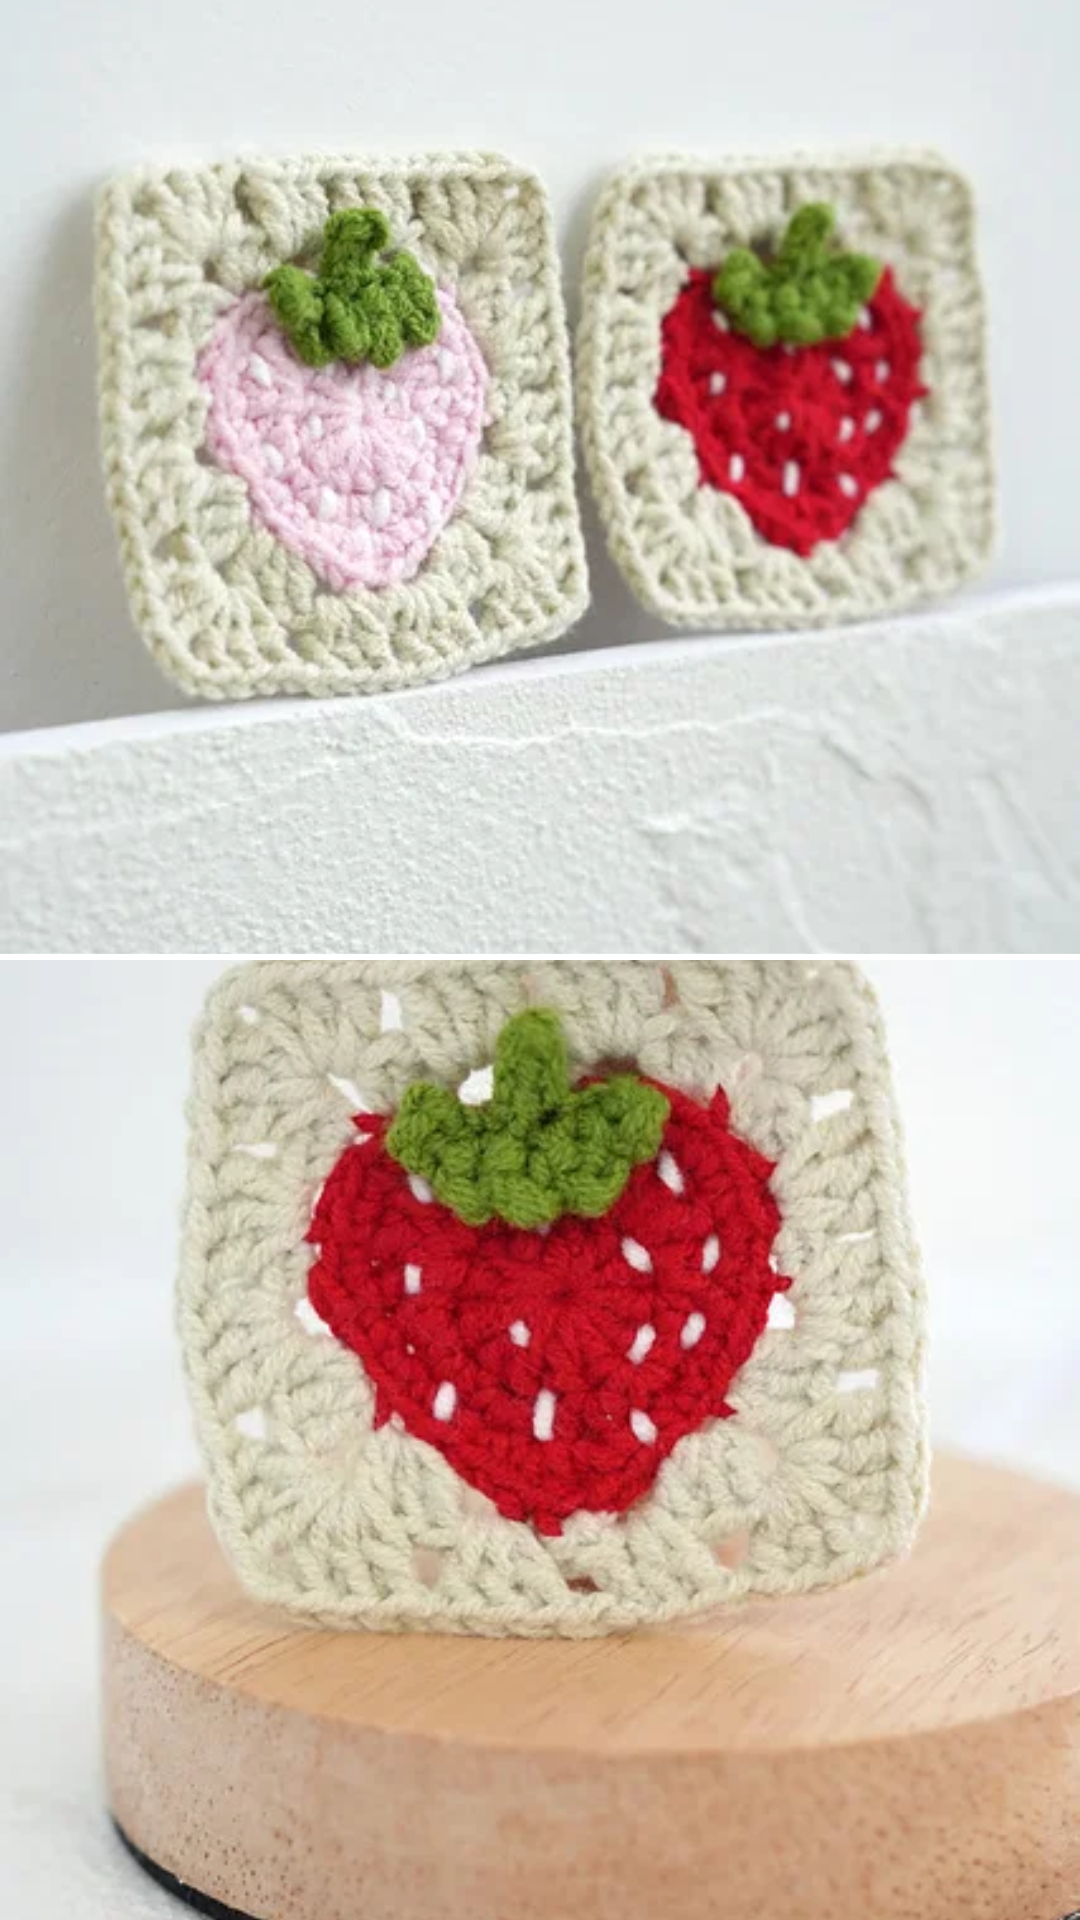
Discovering the Strawberry Granny Square Design
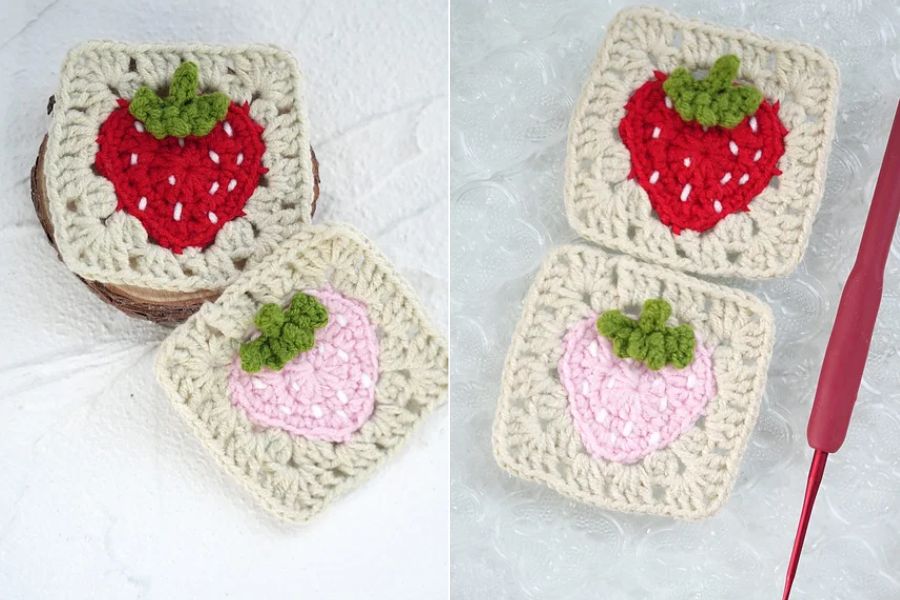
This delightful block transforms a classic motif into a garden-fresh masterpiece centered around a charming berry. The square combines a textured fruit body with leafy green crowns and a creamy border that makes joining pieces together a breeze.
Whether you stitch a single motif for a cozy coaster or join dozens of panels for a market tote, the style screams vintage romance. Playing with pastel pinks or vibrant reds gives you endless options to customize your project for any aesthetic.
Materials and Tools You Will Need
For this juicy project, Loopara 4ply combed cotton yarn is a fantastic choice that provides wonderful stitch definition. You will want to grab vibrant red or pink for the body, leafy green for the top, and creamy white for the background and seeds.
Pair your yarn with a tiny 2mm hook to achieve neat, tight stitches that highlight every single detail of the fruit texture. Keep a yarn needle, stitch markers, and a sharp pair of scissors nearby to finish your square cleanly.
Step-by-Step Strawberry Body Construction
Begin the fruit body by creating a magic ring, chaining 3, and working 11 double crochets into the loop before closing with a slip stitch. Round 2 builds up the curved shape using chains, half double crochets, single crochets, and groups of double crochets.
Round 3 introduces single crochets, increases, and corner spaces to square off the top edge before you fasten off and weave in ends. This compact little core creates the rich, textured base that makes the fruit look so wonderfully realistic.
Crafting Petals and Leafy Accents
The connecting petal round is worked directly into the back loops of your previous work using a mix of single crochets, double crochets, and chain spaces. The second petal round builds out the square perimeter with classic cluster stitches and corners that frame the berry perfectly.
For the leafy top, attach your green yarn to the front loops and work intricate chains and slip stitches to form textured foliage. These little leaves sit right at the crown of the fruit, adding a wonderful 3D element to the flat square.
Helpful Tips and General Advice
Take your time when working with fingering weight yarn and a small hook to keep your hand tension relaxed and even. Weaving in your loose yarn tails as you go prevents a massive mess of ends at the end of your project.
If you prefer a larger panel for a bigger bag, you can easily add extra rounds of double crochet framing around the outer border. Feel free to experiment with deep burgundy shades for a ripe look or soft pastels for a whimsical cottage aesthetic.
Finishing and Joining Your Squares
Once your blocks are complete, give them a gentle steam or wet block so every corner lies perfectly flat and square. You can seam multiple squares together using a simple whip stitch or flat slip stitch join to create stunning handmade tote bags.
These charming panels also double as lovely table coasters, decorative pillows, or pocket details on garments. Grab your hooks, pick your favorite sweet shades, and enjoy stitching up a little piece of pastoral happiness.