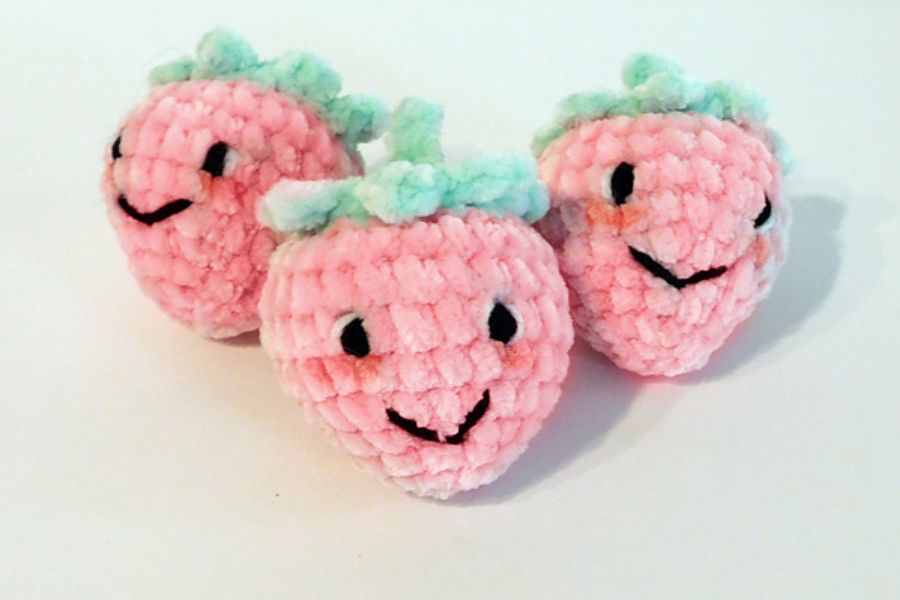
Strawberry Crochet Pattern Chenille You Will Love Hugging
Nothing brings instant joy quite like a squishy, handmade plush friend that fits right in the palm of your hand. Crafting a velvety chenille berry is a wonderful way to brighten your space or gift a little homemade warmth to someone special.
Discovering the Chenille Strawberry Design
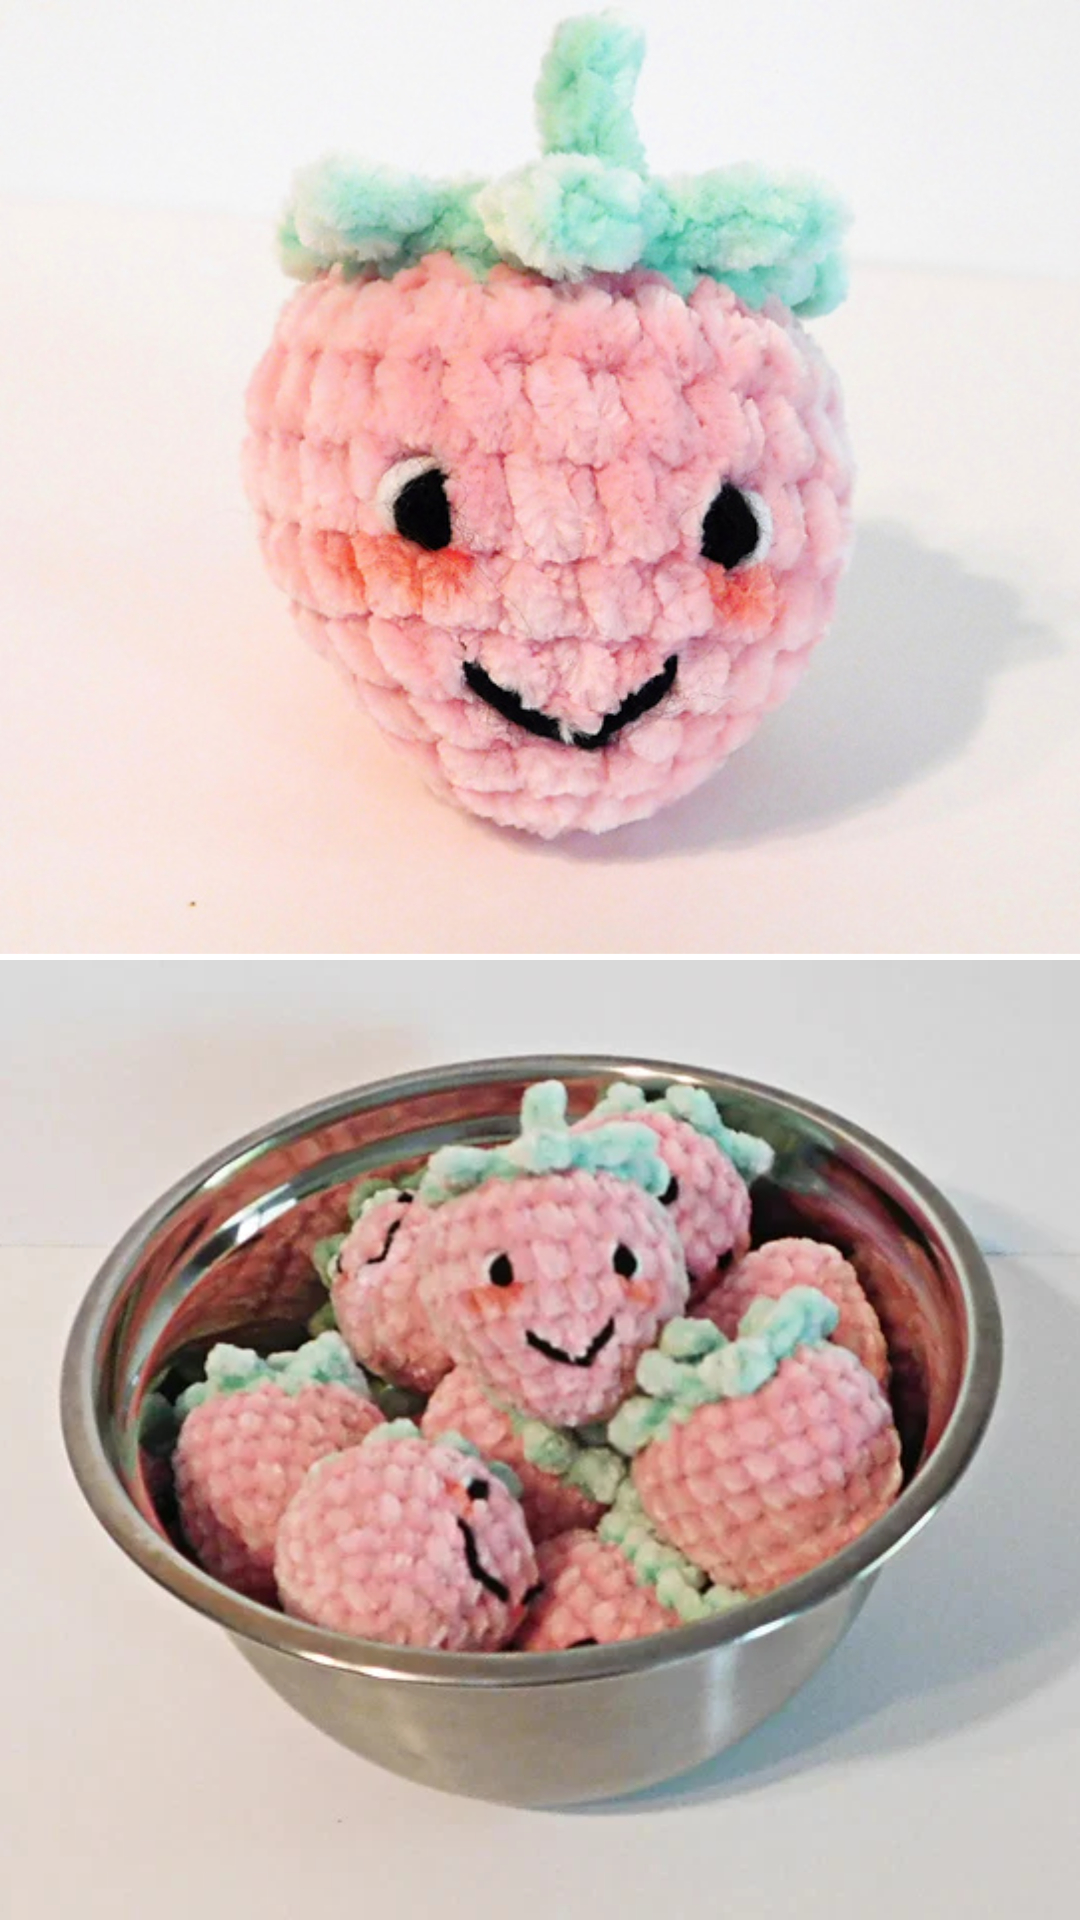
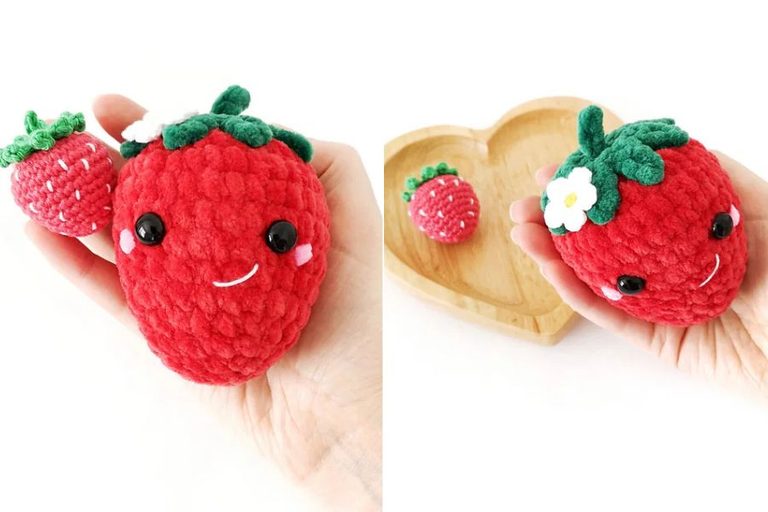
This delightful little project features a plump, pastel pink body topped with cheerful lime green leaves and a cute stem. It even has a sweet embroidered face complete with big eyes and rosy cheeks that make it hard to resist.
Measuring a charming three inches tall, this tiny companion works up in less than an hour. Its velvety texture gives it an incredible squish factor, making it a fantastic pocket-sized stress reliever.
Materials and Tools You Will Need
To create this ultra-soft plush toy, you will need super bulky yarn like Premier Yarns Just Chenille. Specifically, gather about twelve yards of pink for the body and four yards of lime green for the crown.
You will also want small amounts of black and white worsted weight yarn for the embroidered face details. Pair your chenille yarn with a 3.75 mm crochet hook, polyester stuffing, stitch markers, a yarn needle, and a pink permanent fabric marker.
Understanding Stitches and Skill Level
This pattern is rated as easy, though it is not meant to be your very first amigurumi project. You should already feel comfortable working with standard US crochet terms such as slip stitch, single crochet, increase, decrease, back loop only, and front loop only.
Knowing these foundational techniques ensures you can focus entirely on managing the fluffy chenille texture. The digital pattern itself spans five pages and includes plenty of helpful pictures to guide you along every step.
The Magic of a No-Sew Construction
One of the greatest highlights of this pattern is that it is completely a no-sew project for the main structure. The entire body, stem, and leaves are worked together in one continuous piece so you never have to worry about pinning separate parts.
The only time you will need to pick up your yarn needle is to stitch on the adorable face features at the very end. This clever design saves you time and makes assembly totally stress-free for crafters of all experience levels.
Helpful Tips and General Advice
Chenille yarn can sometimes hide your stitches, so working in a well-lit room will help you see your loops clearly. Using stitch markers at the start of your rounds will also prevent you from losing your place in the spiral.
Keep a little extra yarn on hand because yardage can always vary depending on your personal crocheting tension and gauge. Taking your time to stuff the berry evenly will give it a smooth, round shape without any lumpy areas.
Finishing and Personalizing Your Berry
Once your crocheting is complete, use your yarn needle and black and white yarn to embroider the cheerful eyes and smile. You can add a cute blushing effect by dabbing a tiny bit of pink permanent fabric marker just beneath each eye.
Tuck all your loose ends neatly inside the body and give your new chenille friend a gentle squeeze to shape it. Your sweet little berry is now ready to display on your desk or hang out on a cozy shelf.