Delicate Vintera Crochet Snowflake Ornament Pattern
Winter brings a sparkling charm to our homes, and nothing captures that frosty wonder quite like a handmade ornament. Crafting your own lacy decorations adds a deeply personal touch to your holiday tree and seasonal displays.
Discovering the Vintera Snowflake Design
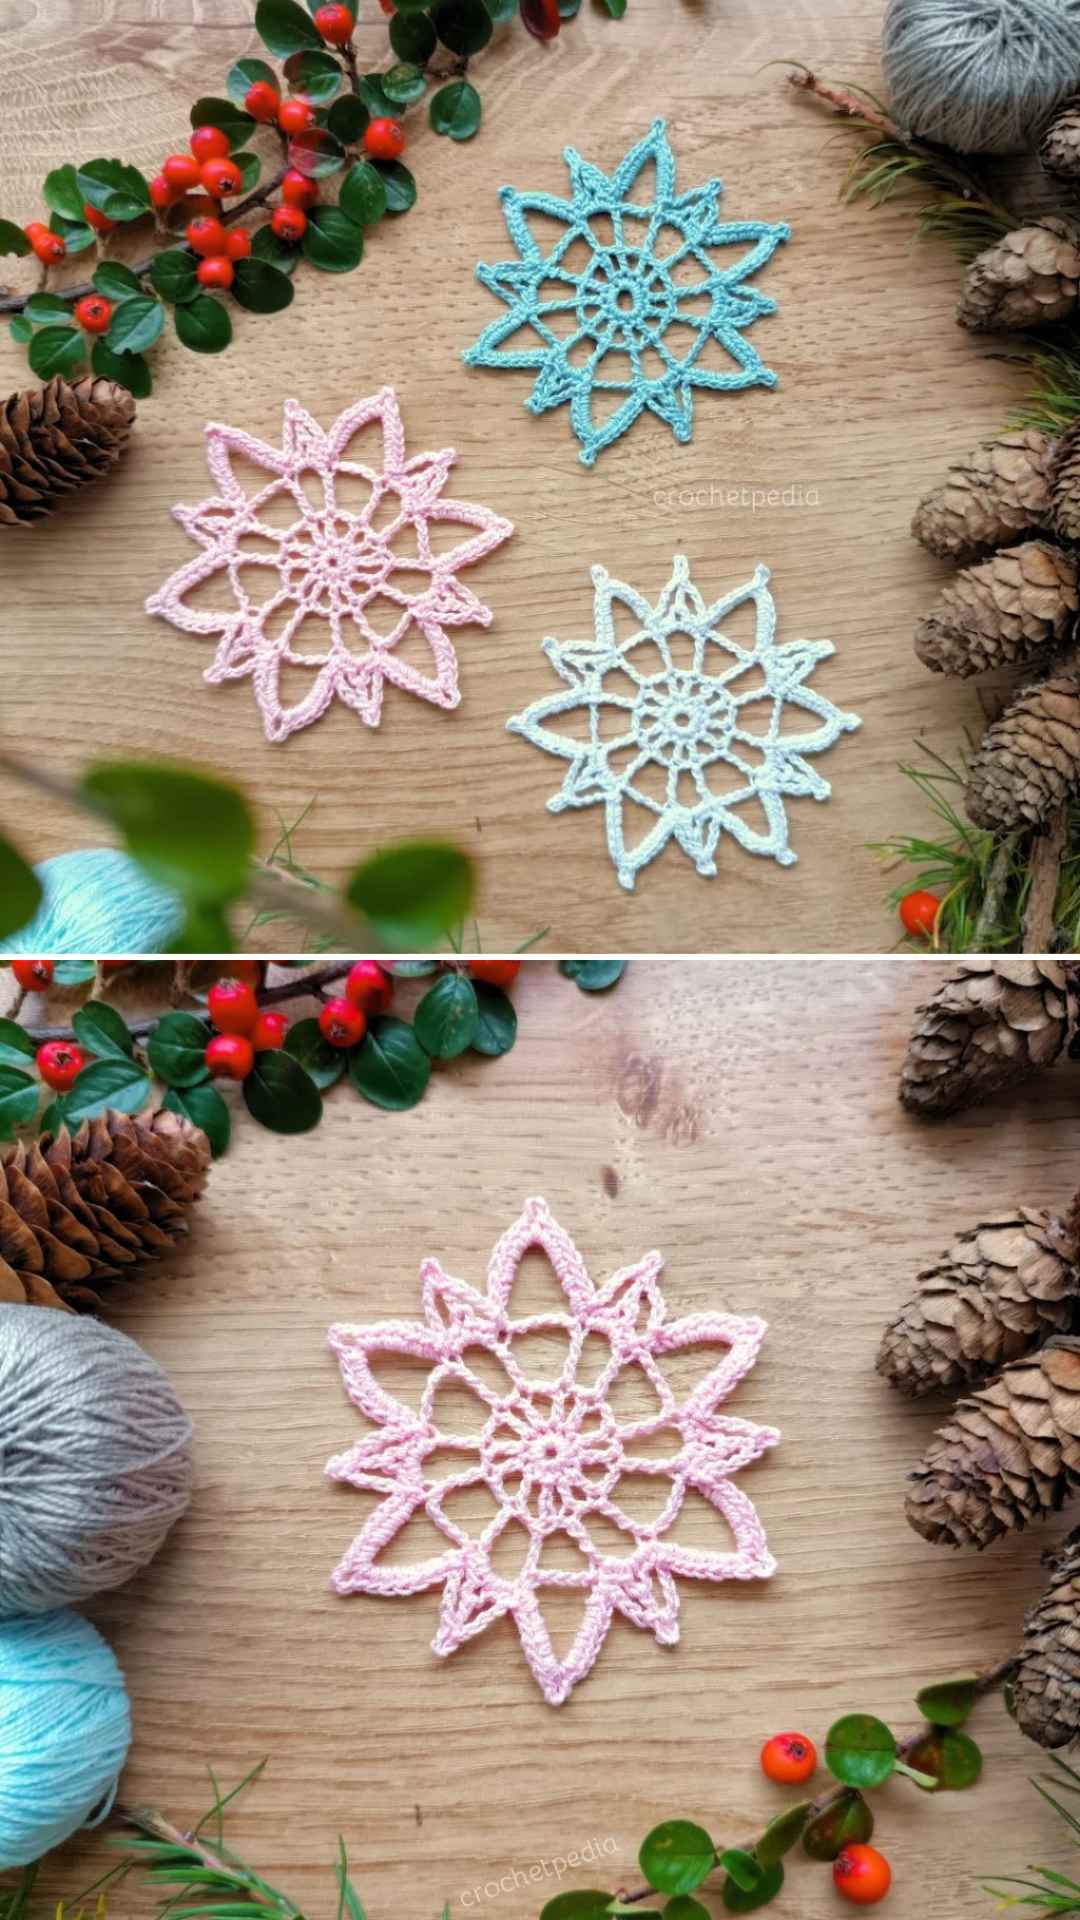
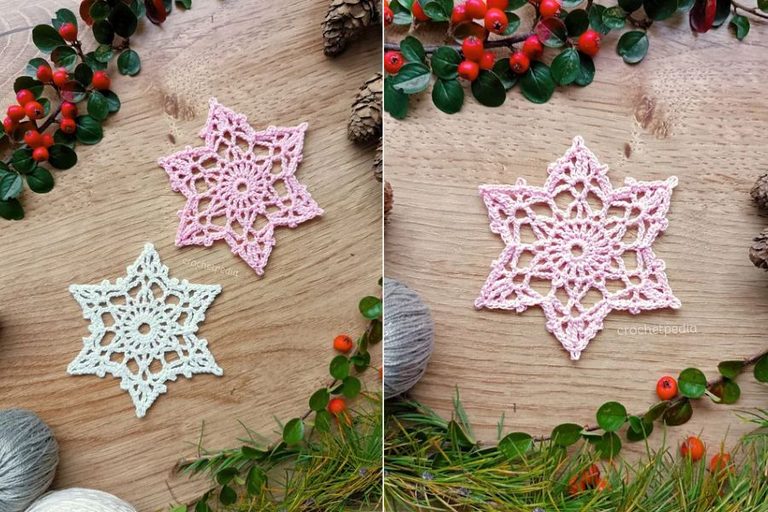
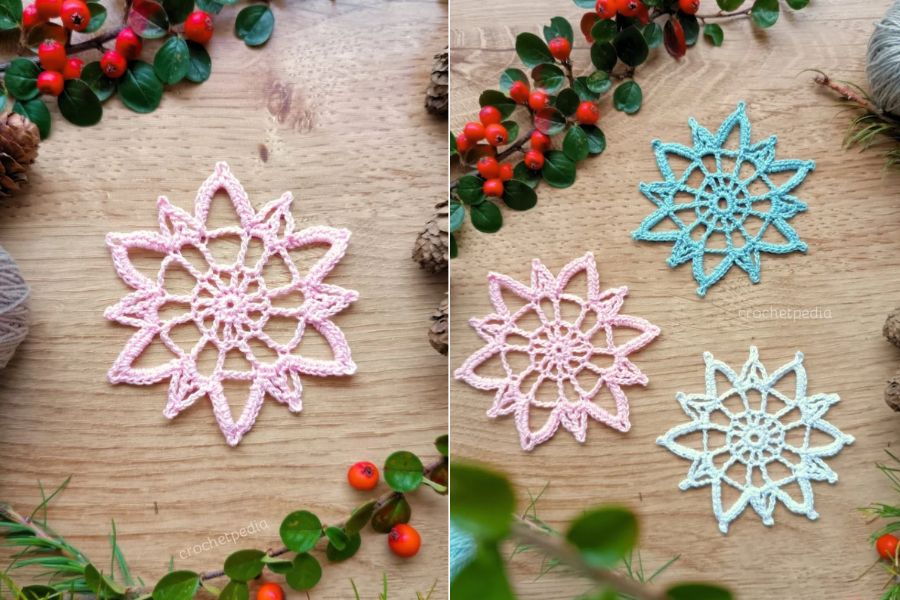
The Vintera snowflake features a lovely, intricate pattern that mimics the delicate geometry of real ice crystals. It showcases a charming star shape with detailed points and open spaces that look stunning against evergreen branches.
Measuring approximately 8 cm or 3.15 inches across, this dainty piece is the perfect size for holiday styling. While soft pastel shades like pink bring a modern flair, classic white or crisp blue thread captures the true essence of winter.
Essential Materials and Tools
To achieve the finest lacework look, you should use 100% cotton thread for your project. Excellent yarn choices include Aunt Lydia’s Classic 10 Crochet Thread or Scheepjes Maxi Sugar Rush, along with any other thread of a similar weight.
You will also need a tiny 1.5 mm crochet hook to keep your stitches tight and well-defined. A sharp pair of scissors will help you trim your ends cleanly when you finish the pattern.
Skill Level and Pattern Basics
This pattern is rated for beginners who are eager to try their hand at delicate thread crochet. It uses standard US crochet terms to guide you smoothly through every single step of the process.
You will work with fundamental techniques like the magic ring, chains, slip stitches, single crochets, double crochets, and treble crochets. The pattern also introduces sweet little picots to give the outer edges a sharp, defined look.
Step-by-Step Vintera Snowflake Instructions
Begin your ornament by creating a magic ring to form a neat, adjustable center circle. For the first round, work 12 single crochets into the loop and close the round with a slip stitch.
Move on to the second round by chaining 5 and working a sequence of double crochets, single chains, and chain spaces. Finish this foundation wheel by joining your stitches cleanly into the third chain.
Start the third round with 8 chains and a treble crochet into the previous round’s double crochet. Continue working alternating chain spaces and treble crochets around before closing with a slip stitch.
For the fourth round, create large loops by working 10 chains and anchoring them with slip stitches and tight single crochets. This builds the framework needed for the striking outer points of your snowflake.
The fifth and final round fills those big chain spaces with rich single crochets and delicate picots. To form a proper picot, make 3 chains and a slip stitch right into the base of your double crochet so it stands straight.
Helpful Tips and General Advice
Remember that your personal choice of yarn weight, hook size, and stitching tension can slightly alter the final size. Taking your time with each round prevents splitting and keeps your cotton thread looking smooth and professional.
Working with fine thread can strain your hands, so make sure you take short breaks during your crafting session. Good lighting will also help you see the tiny chain spaces much more clearly as you stitch.
Blocking and Stiffening for Perfection
Blocking and stiffening are crucial steps to make your handmade ornament look crisp and polished. Without this final treatment, cotton thread lacework will naturally stay soft and lose its sharp geometric form.
Pin every single arm and picot of your snowflake firmly in place on a blocking board while it dries. This ensures a regular, symmetrical look that will hang proudly on your tree for many winters to come.